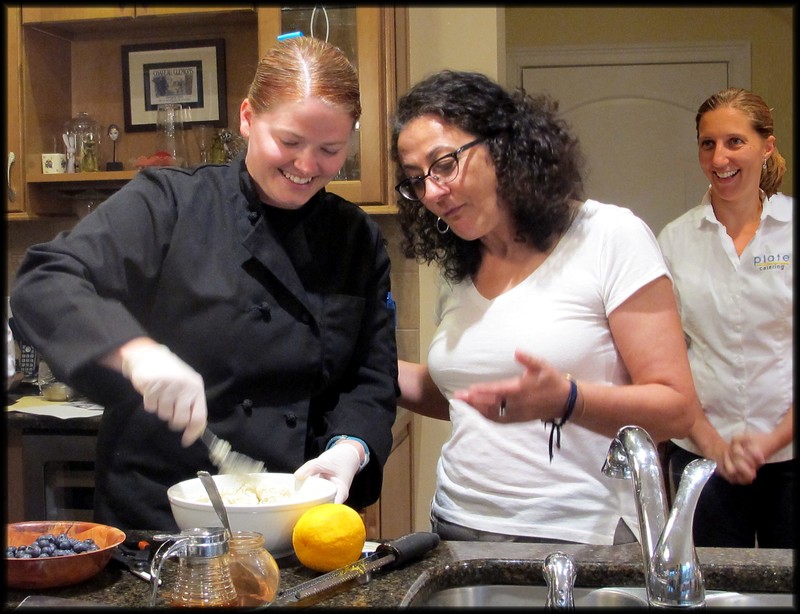
Last week we hosted a fundraiser for the Rehoboth Art League. Since its 75th anniversary in 2013 there has been a series of salons fashioned after the gatherings in elegant Parisian living rooms to encourage discussion on a range of topics. The RAL Salons have featured art from various perspectives, including illustration, landscape design, song, movement and Aboriginal culture (just to name a few).
We called our salon The Art of the Plate. Lisa Wheeler, events coordinator at Plate Catering, recruited head chef Jen Myers to share her insights into the art of plating. Before we began speaking, guests had a chance to visit and chat with each other while sipping wine and sampling an array of hors d’oeuvres.
I began our talk with a tutorial on plates and cutlery, starting with the primitive natural plates made from leaves, gourds and shells which were used more as communal serving pieces, rather than individual plates. The practice of collecting food with cupped fingers continued into the era when platters and bowls were fabricated from other materials, such as pewter and wood.
The word “trencher” came into use during the Middle Ages. From the French for cut or slice, this term described an early version of a personal plate. Trenchers of wood had a slight depression in the center, allowing them to serve as either bowl or plate. One trencher type might come as a bit of a surprise - it was an edible material: bread.
It was nothing at all like the soft white bread from our childhood lunches, but tough-grained wholemeal bread that would be baked and then allowed to harden for three or four days. If you were one of the elite attending the banquet, someone would slice you a bread plate; the commoners had to cut their own slices. At the end of the meal, the used bread would be distributed as alms to the poor or tossed to the dogs as a treat.
Plates have an interesting role in portion sizes, based on their color and our perception. Several behavioral studies have shown that if the color of the food is similar to the color of the plate, you will believe there’s less on the plate. When you serve the same amount of food on a contrasting color plate, you’ll think there’s more of it.
Which brought us to Jen’s tutorial about plating, starting with the now-familiar restaurant tradition of using white plates to showcase chefs’ creations. The food is either decoratively layered in the center (high and tight) or arranged with a flourish at an angle or arc across the plate.
She certainly planned ahead for the evening. Unbeknownst to the group attending the salon, Jen had engineered an experiment when she plated the hors d’oeuvres. She suspected we would select more of the appropriately plated dishes and less of the ones plated without the same careful design.
If you look at the photo of the caprese salad skewers, you can see them plated in two different ways. In one version they’re arranged on a platter like spokes in a wheel. In the other, they’re set in narrow glasses with a Balsamic reduction at the bottom. Jen’s prediction came true: we preferred the shorter skewers in the glasses over the longer skewers on the plate because they were easier to eat and weren’t missing an ingredient (the rich glaze).
She prepared two different styles of cheese platters: one had the cheese sliced into bite-sized pieces; the other left the cheese in chunks for guests to cut. There were lots of leftovers from the second cheese plate and almost none from the first. Because we were already juggling plates while trying to select cheese, having the pieces conveniently sliced made more sense than asking us to juggle a knife as well.
Another appetizer plating involved how the ingredients were assembled. If you look at the spoons in the front, you see a mixture. Those in the rear of the photo are layered: tiny diced beets, topped with blue cheese crumbles and garnished with pecans. While they both had similar flavors, the layered version was more visually appealing and offered an opportunity to taste each ingredient more independently.
The final lesson of the evening was choosing flavors that work well together. Jen blended mascarpone cheese with honey, orange zest and cinnamon. She piped the creamy combination into miniature phyllo tart shells. Each was topped with exactly three blueberries (an odd number looks better than an even number of items). There were no leftovers.
Jen’s Mascarpone Tartlets
1 lb mascarpone cheese
3 T honey
zest of 1 orange
1/2 t cinnamon
miniature phyllo shells
blueberries
Defrost tart shells according to the package directions. Arrange on a serving platter and set aside. In a mixing bowl, whisk together the cheese, honey, orange zest and cinnamon. When the mixture is smooth, transfer to a pastry bag. Pipe flavored cheese into phyllo shells and top each tartlet with exactly 3 fresh blueberries.
Send comments, questions or recipe ideas to capeflavors@comcast.net.


